This is the frame design for 2" OC 703 (rigid fiberglass) absorber panels that I developed for Chair Company. 2" is not necessarily adequate for every situation (it’s not quite thick enough for full broadband absorption), but this frame design uses readily available materials that are easy to work with and it is very lightweight and strong. The only power tool needed is a good impact driver or drill. It is made slightly more effective by putting some space behind it to create an air gap. I hope that this design can be helpful for someone.
When we built Chair Co, we tore down a bunch of walls that were framed with 2 1/2" steel framing material, and I realized that these studs fit perfectly around the edge of 2" rigid fiberglass, so I set out to create a frame that uses them. I used 2’ x 4’ panels from ATS Acoustics. (Please pardon the mess in these pictures!)
The first step is cutting the steel framing members to the proper dimensions. It cuts easily with tin snips but gloves are necessary because the edges are sharp (also always use gloves when handling fiberglass). I used track (headers/footers) for the short edges (2’) and studs for the long edges (4’).

Cutting steel studs with tinsnips.
Next I slipped the 4’ studs (long edges) over the long edges of the fiberglass panels. It fits snugly and stays in place.

Long edges stay in place by tension
Then the 2’ track (short edges) is fitted over the short edges. I made sure that the corners lined up nicely and then fastened the corners together using sheet metal screws (two screws for each corner—front and back). It takes a little bit of pressure to get the screws started but goes quickly with a good driver. Once all the screws are in place, the frame is super rigid.

Short edges fastened in place. The short edge flanges go outside the long edges.
The next step is to cover the panels in fabric, but first I had to cover the sharp edges of the steel framing so that it didn’t snag or tear the fabric. For this I simply used Gorilla Tape (heavy duty permanent duct tape). This was actually the most time-consuming step (I also covered old screw holes, etc. because I was using salvaged steel framing—my stuff was pretty gnarly; you won’t need as much tape with new material).

Gorilla Tape covering the sharp edges
The fabric covering is Guilford of Maine FR701. It isn’t cheap but it looks beautiful, is acoustically transparent and (perhaps most importantly) is fire rated. I cut the fabric to 36" width, so that there was at least 3 inches of overhang on the long edges to wrap around the back (this would need to be wider if you’re using thicker fiberglass/studs). I kept the 64" height (the size of a roll of FR701) in the long dimension, so there is additional overhang on the short edges. I imagine this stretching process would be similar for wood or other frames.
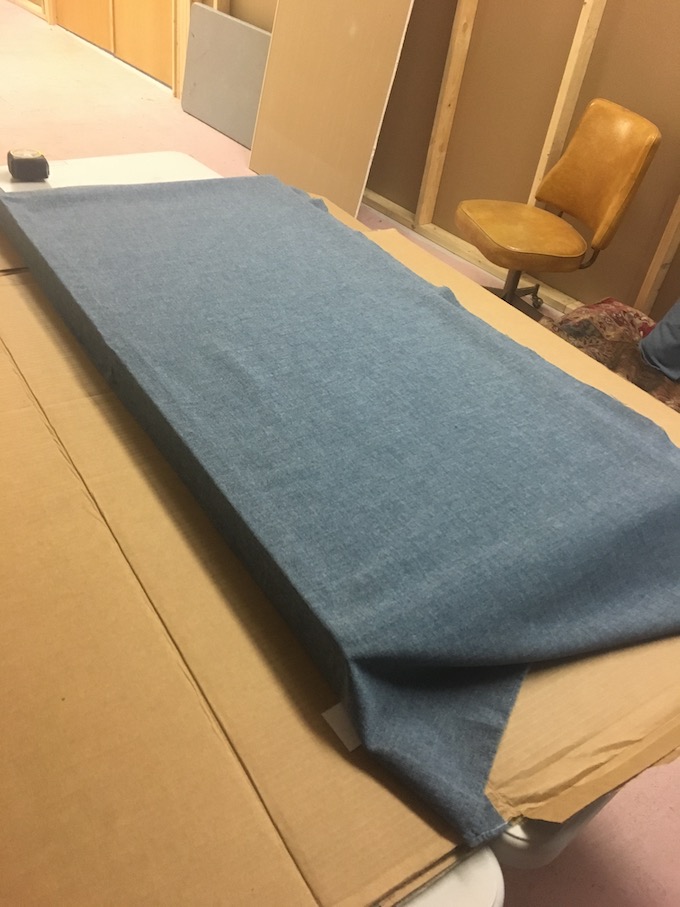
I don’t have as much photo documentation of the wrapping process because I had to work fairly quickly. I used 3M Super 77 according to the manufacturer’s directions and put down cardboard (the OC 703 boxes) to protect work surfaces. I also used a respirator to protect my lungs and brain cells. I carefully aligned the panel and the fabric, and then sprayed one long metal edge of the panel with a thin coating of adhesive, taking care to prevent adhesive from getting on parts of the panels where I didn’t want it (especially the front). After waiting about 60 seconds or so (the time is dependent on heat and humidity), the adhesive becomes very tacky and I could carefully press the fabric against the first long edge to secure. The first edge is critical to getting a nice smooth appearance. Fortunately the Super 77 doesn’t dry immediately so there’s a little time to revise if it doesn’t go perfectly. At this point I only glued the edges, not the overhang on the back of the panel. There’s a lot of waiting for glue during this process, so make sure you have a good podcast to listen to. I recommend Welcome to Night Vale or S-Town.

Prepping for stretching. Aligning the first edge is critical.
After the first edge dried a bit and felt secure, with the panel on its back I folded the fabric over the front of the panel and prepared to secure the opposite long edge. The critical part here is pulling it very taut so that there are no sags or lumps on the front of the panel (I didn’t always do it perfectly). You can’t tell in the photo, but I found that it helped if I allowed the long edge to hang over the edge of the table so that I could pull the fabric downward. I sprayed the metal edge of the frame and waited ~60s, then pulled the fabric straight down (toward the floor/back of the panel) and pressed against the metal edge to secure. The FR701 has a little bit of stretch to it but not too much, and it’s this stretching process where I really appreciated working with this fabric. Again, I only glued the edges at this point, not the overhang.
Getting ready to stretch and glue the fabric to the opposite long edge
Here are the steps where I’m missing some good photos, and it’s also the hardest to describe in text— Sorry! There’s a little room for creativity with how you fold the extra fabric back to create a neat appearance.
I glued both short edges the same way—working one side at a time, gluing only the edges, not the overhang (yet). I found that I didn’t have to stretch as much in the long dimension if the fabric was already very taut in the short dimension.

Gluing the short edges is easier than the long edges because most of the stretching is done
With all four edges secured, there are little folds in the fabric extending at approximately a 45° angle from each of the four corners. Using some additional spray glue, I came up with a way of folding those little triangular flaps around the edge and over the back to create neat little right triangles that are visible on the long edges. I also experimented with wrapping this overhang like a Christmas present but found that I liked the triangles on the long edge better. After this is done, I glued down all of the additional loose fabric and folds to the back of the panel—there’s no stretching at this point, just tidying up.

Finally, I used two strips 2" x 24" of 5/8" plywood (you could use any wood) to attach mounting hardware to the back of each panel. The thickness of this wood determines the air gap behind the panel. One strip has a French cleat picture hanger and the other simply has self-stick felt furniture pads (to protect the wall). The strip of plywood is pre-drilled and attached to the frame using long fine-thread drywall screws. I found that it was important to be super precise with measuring at this step to make it easier to level the panels when they’re installed. In retrospect I would have painted the edges of the plywood to match my wall because it is visible.

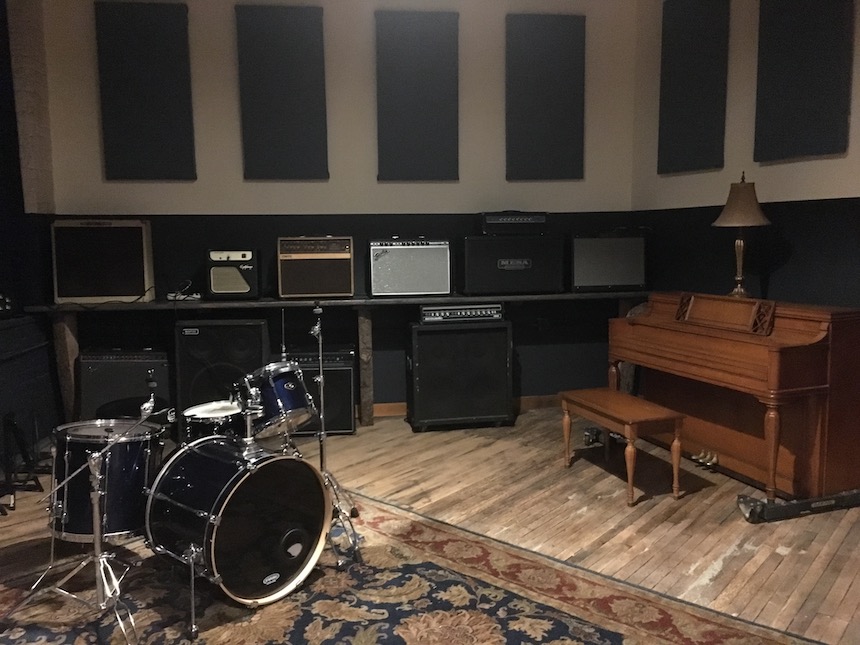
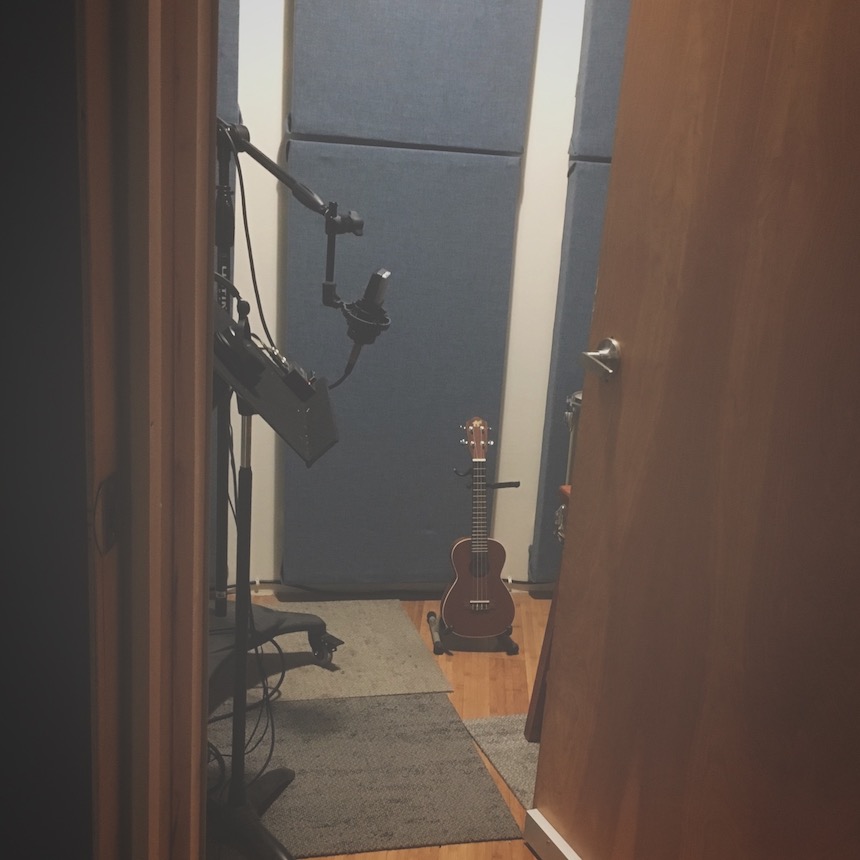
That’s basically it. It took me a few days to build 24 of these panels. Being only 2" thick means that they won’t absorb much LF, but I have found that they are effective at cutting down reflections in the live room and much better than any foam. The iso booth is covered in these and it is dry as a bone. I also use them as spot treatments for reflection points in the control room, in combination with superchunk bass traps. And because they are so lightweight, I was able to suspend them from the ceiling with chains to cut down on flutter echoes in drum overheads and in the iso booth.
Steel framing is sold in 3-5/8", 4", 5-1/2" + widths, and I’m hoping to experiment with this basic design with thicker rigid fiberglass. This could be easily adapted for different sizes and purposes. Please comment with any questions and let me know if this design works for you.